
Monday, 19 September 2011


Mummy time

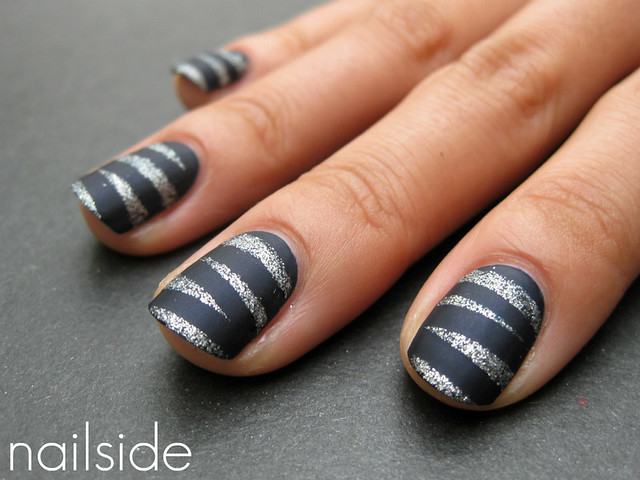
Oooh, it's time for the mummy design again :) Haven't done that one in a while! This time I was going for something chic and festive. As my base color I'm wearing OPI Russian Navy and on top of it I used China Glaze Silver Lining for the mummy design. Normally I wouldn't suggest using a glitter as a layering polish for tape manis, because most of the time they don't cover very well, but it all just depends on the density of the glitters. And Silver Lining has very dense glitter so not a problem for tape designs. It did leave me a gritty and uneven surface so to smooth it all I applied Essence Matt topcoat. Can't resist mattified glitter! Thanks for watching :)
Friday, 16 September 2011
Tutorial: Citrus design
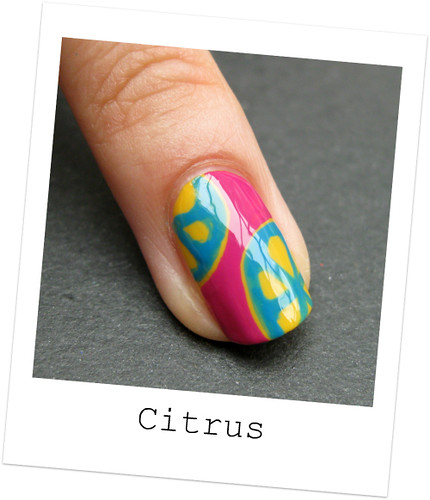
Hi everyone, welcome to my citrus design tutorial :) I first made this design for my entry in the Good Enough To Eat contest at Nail Polish Art Addiction, a few months ago. The shape of a sliced citrus fruit has always amazed me for some reason, so for the contest I made this exotic, abstract pattern. A few of you dear readers requested a tutorial for it, so here it finally is :) Now go pick three delicious, summery polishes, your nail art brushes and do some nail art!
 Start with the base color you like (if necessary with a basecoat underneath) and let it dry.
 Then use your nail art brush and a contrasting, opaque polish or acrylic paint to draw a few circle shapes. Spread them evenly on the the surface to make a nice composition. Then devide each circle in 'slices' and round of the two outer corners of each 'slice'.
 Clean your brush (or use a new one) and use a third color to suround each circle shape with a line, leave a small gap between the circle and the line, if you can. Then fill in the gaps with the same color and let the whole nail dry for a few minutes.
 The surface is still a bit bumpy, so to make it smoother and protect your design, apply a topcoat. At last clean up the excess polish on your skin and you've got yourself a fresh and juicy design ;)
Tip: To clean your nail art brush(es), pour a little bit of nail polish remover in a small dish or the lid of the bottle. Let your brush soak in it for a few seconds and dab it a few times on a cotton pad. Repeat this until your brush is clean.
I would absolutely love to see your attempt on my design, so feel free to leave a link to your creation in the comment section!
Products I used in this post are OPI The It Color, Essence Let's Get Lost and OPI Dim Sum Plum.

Wednesday, 14 September 2011
Ancient Pattern Nail art
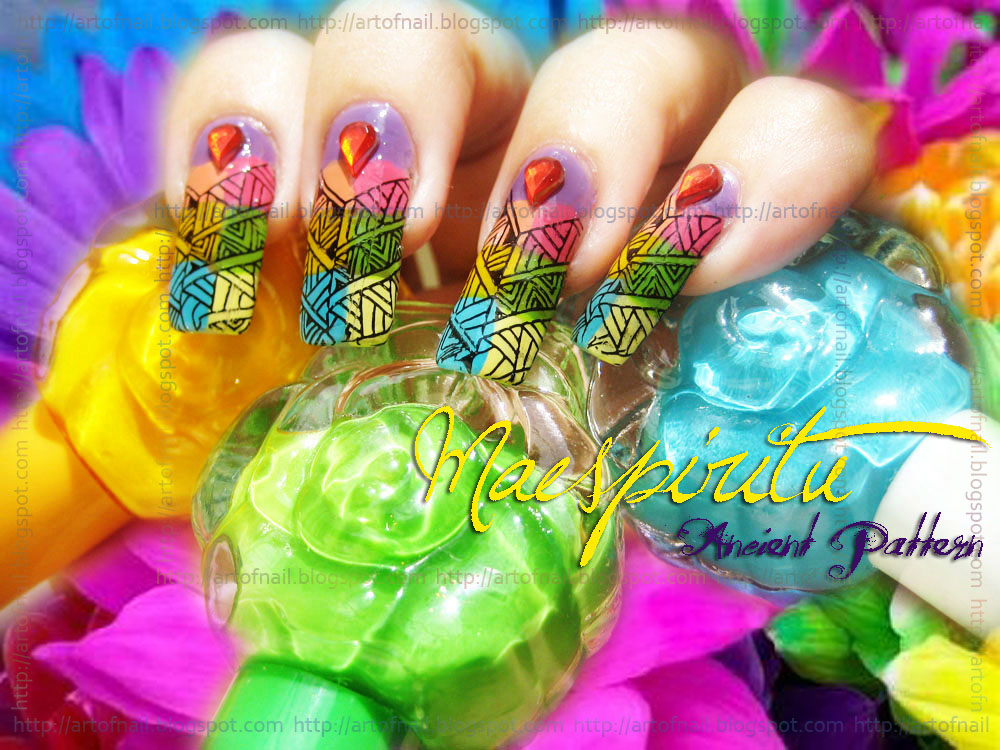
Hi guys, when I woke up this morning I'm very excited to make a mani using my new image plates.. Here's what I came up with..I used XL image plate "C" for my design. I named it "ANCIENT PATTERN" I really like the color I used in my NOTD. Usually, ancient designs are represented by dark shades, I made mine a brighter, and lighter one...

Here are the 3 nail polishes that I bought last week. The bottles are very cute! ♥


Materials used:

Some nail art that I forgot to post last week.. hehehe
BLUE CAMOUFLAGE


Heavy layering experiment
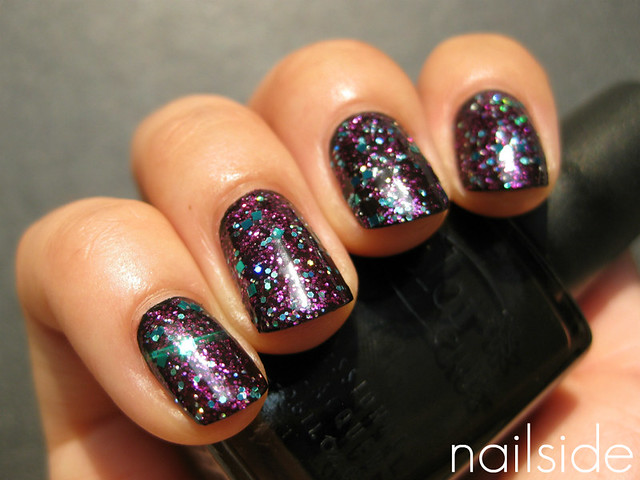
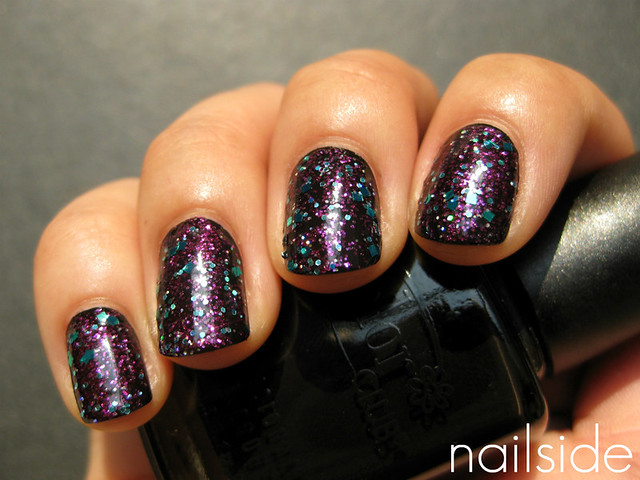
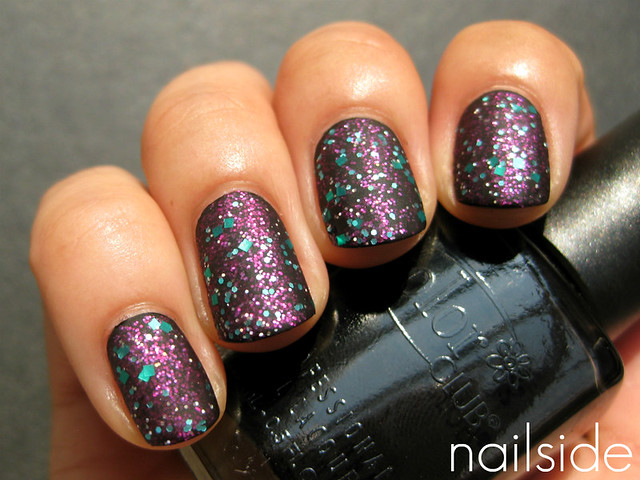
Hello guys! For this post I have a layering combination for you. I had just bought a purple/fuchsia glitter polish from Claire's and used it over one coat of black (Color Club Where's The Soiree?). The glitter applied well and evenly, I really like that, plus it was a lot denser than I expected it to be. For a bit more color and contrast I added a coat of Essence Edward, this extremely gorgeous teal glitter. After that there was a lot going on, but I'm a true glittergal, so I'm in love haha. Of course I also applied a matte topcoat to share the mattified finish with you. What are your thoughts?
To get an up-close view of the glitters, just enlarge the pictures by clicking on them.
To get an up-close view of the glitters, just enlarge the pictures by clicking on them.
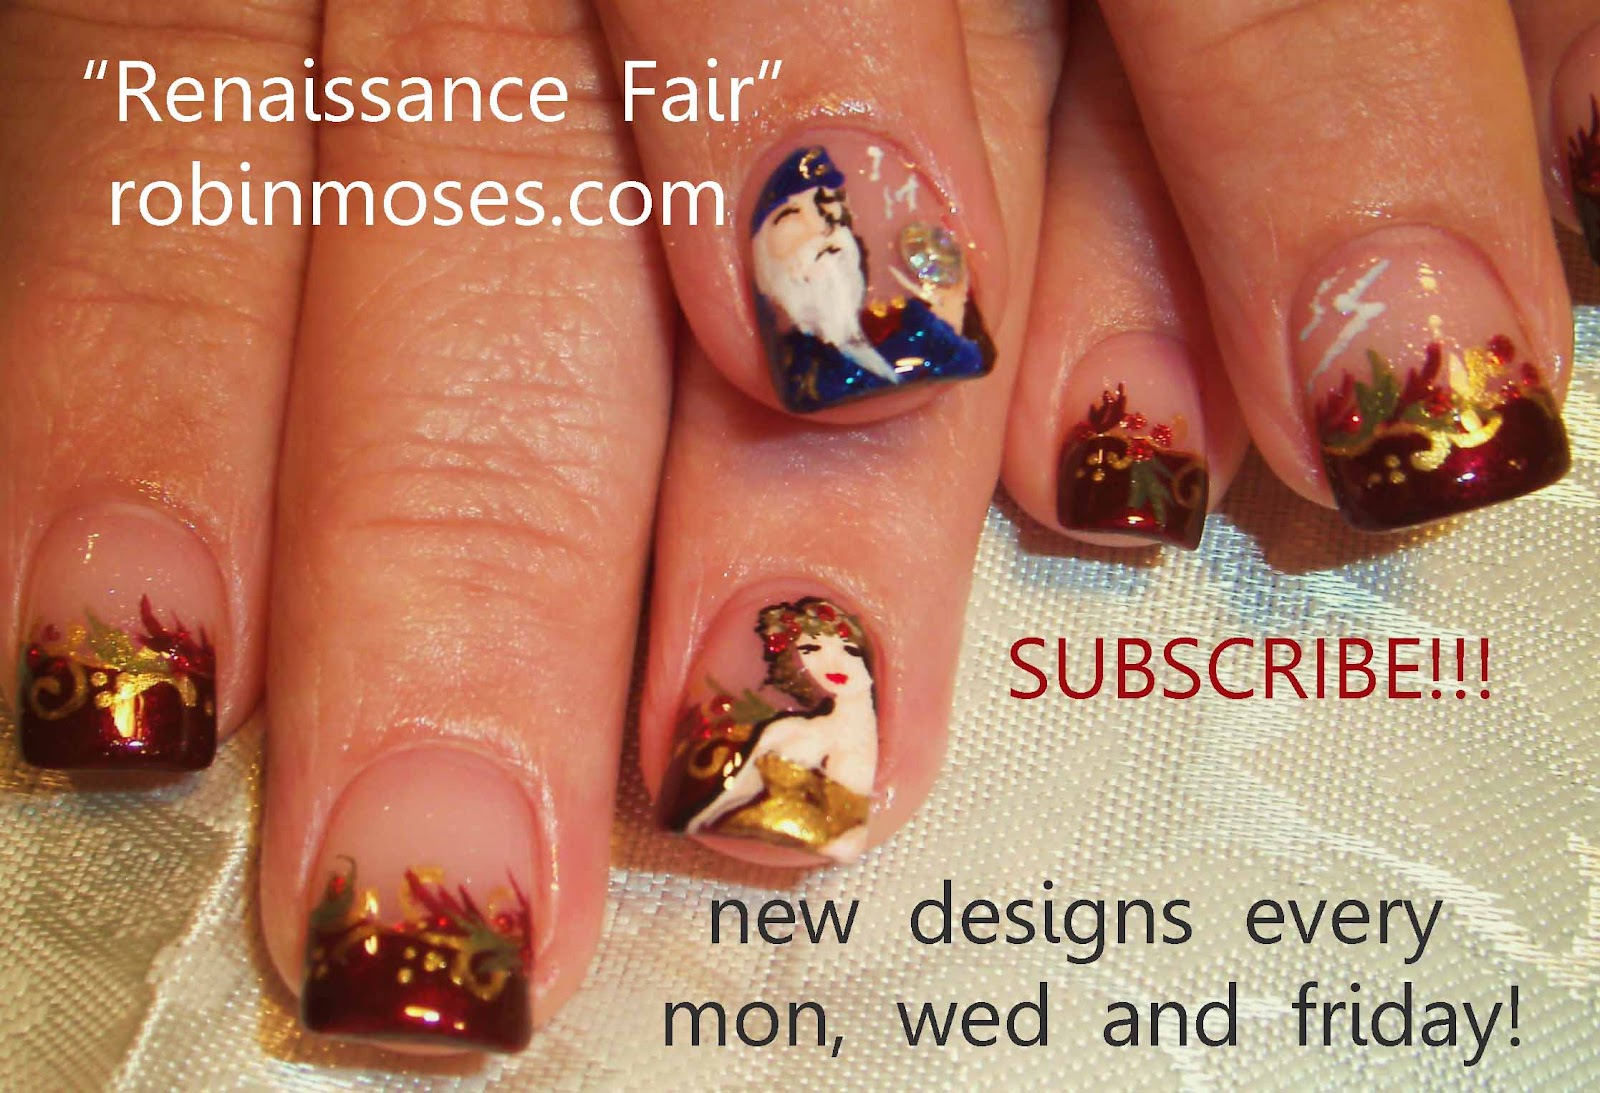
cowgirl nails, red and blue nail, western nail, country nail, renaissance fair nail, autumn nail 2011, girl nail, nailsmag, wizard nail, merlin nail, cowboy boot nail, even cowgirls get the blues nail,

Subscribe to:
Posts (Atom)